
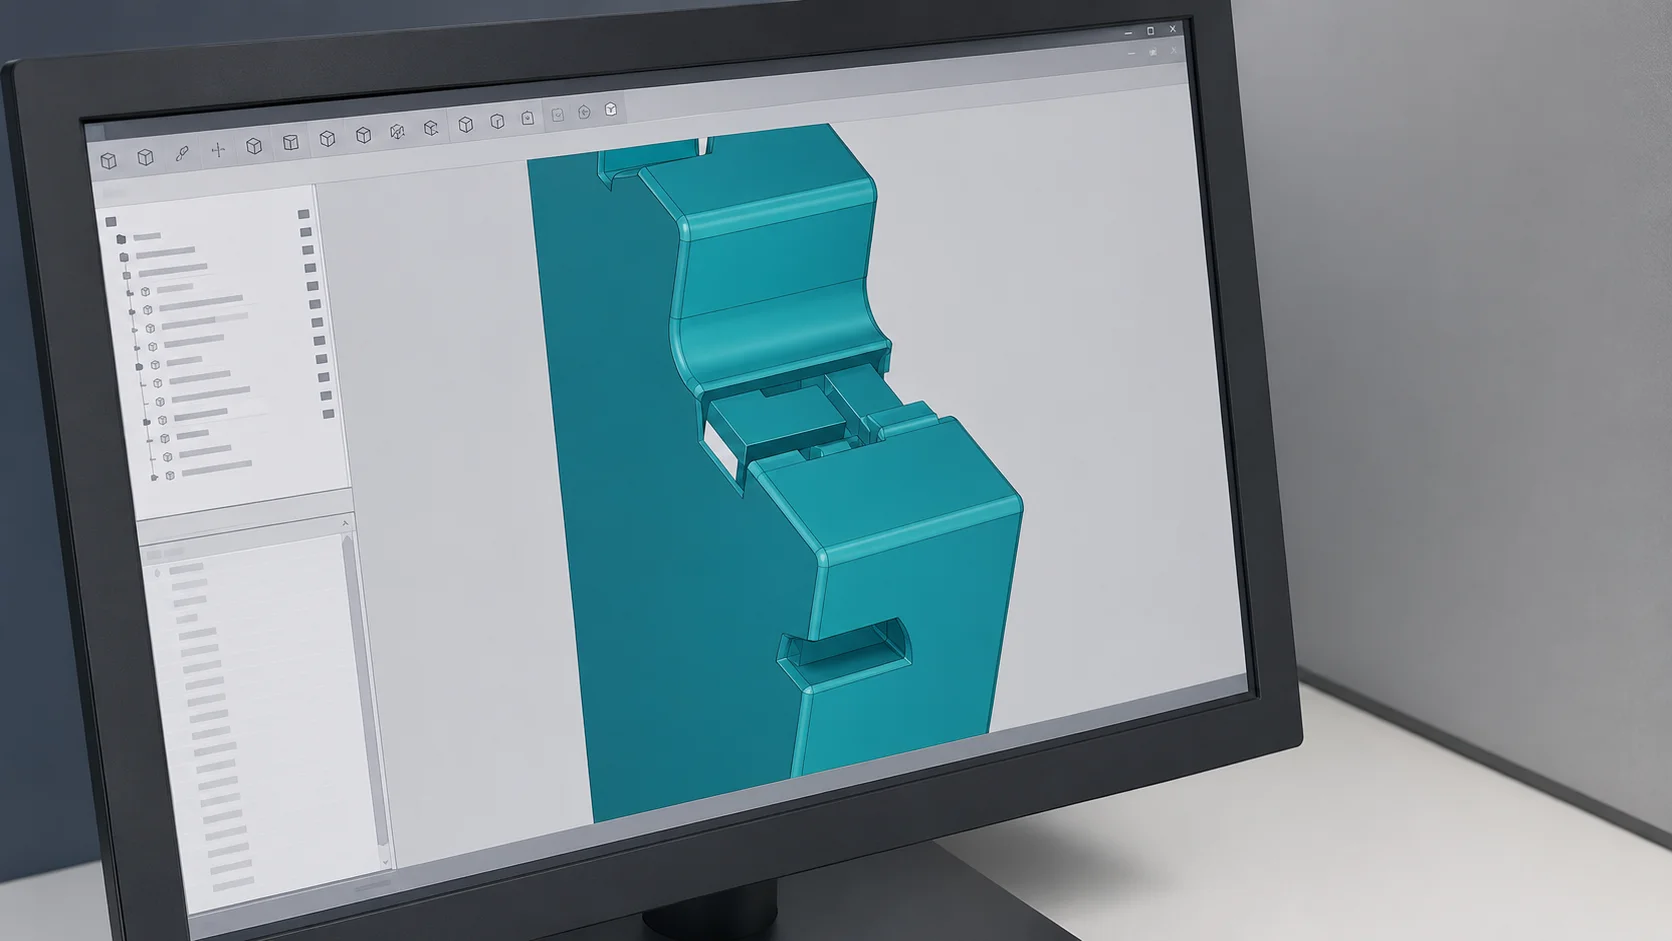
Most cosmetic defects on a first sample trace back to one decision made long before the mold was quoted: how thick the walls are, and how consistently that thickness is held across the part.
Molten plastic shrinks as it cools. Thick sections hold heat longer, so they cool later and shrink more than the thin sections around them. That differential is what produces a sink mark on a visible surface and warpage across a flat one. Neither is a molding fault that can be processed away once the steel exists.
Keep nominal wall thickness uniform
Pick one nominal wall for the part and hold it wherever you can. Typical nominal walls by resin family:
| Resin | Typical nominal wall |
|---|---|
| Polypropylene (PP) | 0.8 – 3.0 mm |
| ABS | 1.2 – 3.5 mm |
| Polycarbonate (PC) | 1.0 – 4.0 mm |
| Nylon (PA) | 0.8 – 3.0 mm |
| Acetal (POM) | 0.8 – 3.0 mm |
Where thickness must change, transition it gradually. A step change concentrates stress and freezes flow unevenly; a taper spread over roughly three times the thickness difference does not.
Size ribs and bosses off the nominal wall
Ribs and bosses are where uniform-wall discipline usually breaks down, because each one meets the wall and creates a locally thick junction.
- Rib thickness: 50 to 60 percent of the nominal wall at the base. Thicker than that and a sink mark appears on the opposite face.
- Rib height: up to about three times the nominal wall. Taller ribs need more draft and become hard to fill and eject.
- Rib spacing: at least two times the nominal wall between ribs, so the steel between them can be cooled.
- Boss outer wall: also 50 to 60 percent of nominal. Attach a boss to a wall with a connecting rib or gusset rather than blending it into a thick mass.
Core out heavy sections instead of filling them
A solid handle, a thick base, or a chunky mounting block does not need to be solid. Coring out the interior and leaving a ribbed shell gives the same stiffness with a fraction of the material, a shorter cycle, and no sink. It is often better in tooling terms too, because a core insert replaces a cooling problem that would otherwise have to be managed for the life of the tool.
Expect shrinkage, and expect it to be directional
Every resin shrinks, and semi-crystalline resins such as PP, PA, and POM shrink considerably more than amorphous ones such as ABS and PC. Glass fibre reinforcement reduces shrinkage but makes it directional: material shrinks less along the fibre orientation than across it, which is a frequent source of warpage on large flat panels molded in filled resin.
This matters for the drawing. A dimension marked critical is compensated in the steel, so the tool is cut to a shrink-adjusted size for the specific resin and grade specified. Changing resin family after the tool is cut can move dimensions outside tolerance with nothing else having changed.
What to send for review
A 3D model in STEP or IGES, plus a 2D drawing marking the critical dimensions and the cosmetic surfaces, is enough to catch nearly all of the above. Marking which faces are visible in the final assembly is the single most useful annotation to add, because it tells the tool designer where a gate vestige, an ejector pin witness, or a parting line can and cannot fall.
Send a drawing for a free DFM review and we will return moldability feedback before you commit to tooling.